Always use #6 AWG bare copper wire for outdoor grounding to meet National Electric Code requirements and pass inspections. This simple yet critical detail can save you time, money, and headaches down the road. Bonding connects metal equipment parts together to establish electrical continuity and prevent electric shock. This process involves two distinct but related concepts: system grounding, which connects current-carrying conductors to the earth for voltage. . Grounding (also known as earthing) is the process of physically connecting the metallic and exposed parts of a device to the earth.
[pdf] All you have to do is connect the equipment grounding conductor to one rail in each row, allowing all metal parts to bond to the grounding conductor. It's not just a box to tick off during installation – it's a vital step that protects your investment and ensures your system operates efficiently. In this guide, we'll walk you through the ins and outs of solar. . Grounding a solar photovoltaic (PV) system involves establishing a low-resistance conductive pathway that connects the non-current-carrying metal components of the array to the earth. It is a mandatory practice required by NEC and IEC codes to protect both equipment and personnel from damage and electric shock hazards. Here are the most common methods: 1.
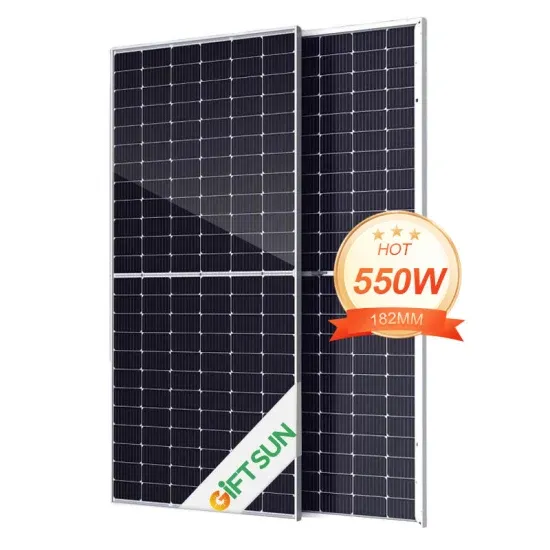
[pdf] Attaching a solar panel connector to a PV wire is a two-step process: (1) crimping and (2) tightening the connector, to do this you require a wire stripper, crimping tool, and a solar panel connector assembly tool. . When installing photovoltaic panels on color steel tile roofs, the plug connection process becomes particularly challenging due to the roof's unique corrugated surface. This guide addresses the specific pain points of working with pre-fabricated metal roofing systems while ensuring code-compliant. . Photovoltaic brackets serve as the backbone of any solar panel installation, especially on color steel tile roofs. For rooftop PV installations,you can use the PV wire,known in Europe as TUV PV Wire or EN 50618 solar cable standard. This system is also compa ible with mo t PV-Modules in the market. It's an ideal solution for homeowners who. .
[pdf] In this guide, we'll walk you through how to connect solar panels in parallel, including wiring diagrams, safety tips, and key technical insights. This setup is common in 12V or 24V systems where you want to safely charge batteries or run low-voltage inverters. You can use series, parallel, or sometimes both. Each way changes how your system works. The PV cables are responsible for connecting the positive and negative terminals of each solar panel, while the branch connectors ensure a secure and. . A 12V parallel solar connection is one of the easiest and most effective ways to create an off-grid setup. ⚡ In a parallel connection, multiple solar panels are connected side by side, with all positive terminals linked together. .
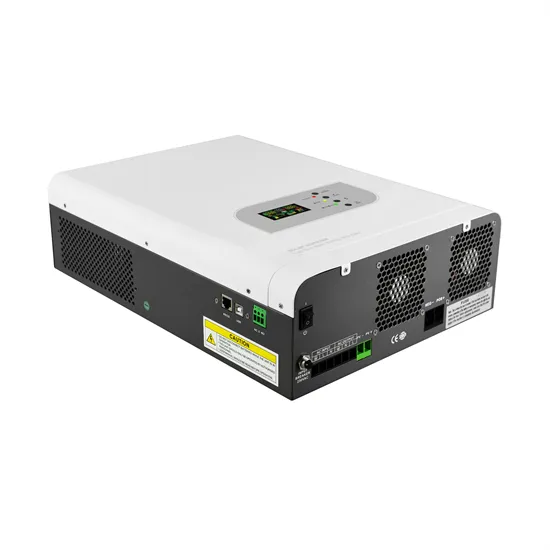
[pdf] Follow a structured process to connect your solar panels to the grid, including preparing the electrical panel, installing a dedicated circuit breaker, wiring the inverter, and setting up a utility disconnect switch. Familiarize yourself with net metering to maximize your energy. . Professional Installation is Critical: Grid-tied solar systems require licensed electricians and multiple permits, with the interconnection process typically taking 2-8 weeks and costing $200-$2,000 in fees alone. It outlines the steps involved in the process, including research, planning, and installation. Grid-connected solar systems allow you to generate. .
[pdf]