Most solar panels have clearly marked terminals, often color-coded for ease of identification. The positive terminal is generally represented by a red wire or a plus sign (+), while the negative terminal corresponds to a black wire or a minus sign (−). It also discusses checking solar panel polarity and fixing reverse. . A solar panel's polarity is essential when installing or replacing a solar panel. Identifying the poles accurately is crucial; 2. Ensuring correct connections prevents equipment damage; 3.
[pdf] Wiring solar panels in series requires connecting the positive terminal of a module to the negative of the next one, increasing the voltage. To do this, follow the next steps: Connect the female MC4 plug (negative) to the male MC4 plug (positive). It also discusses checking solar panel polarity and fixing reverse. . Learning how to wire solar panels requires learning key concepts, choosing the right inverter, planning the configuration for the system, learning how to do the wiring, and more. In this article we will teach you all of these, saving you weeks if not months of hard studying on the subject. Identifying the poles accurately is crucial; 2. Ensuring correct connections prevents equipment damage; 3. Utilizing. . Wiring PV panel wiring is the backbone of a reliable solar power system. Don't worry if you're new to this—this beginner's guide simplifies everything.
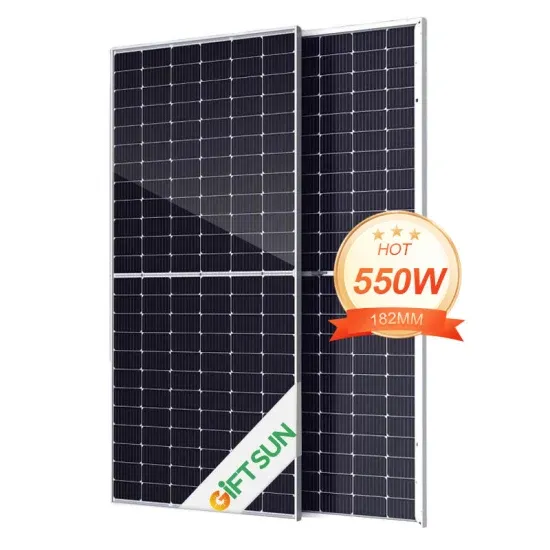
[pdf] In this guide, we'll walk you through how to connect solar panels in parallel, including wiring diagrams, safety tips, and key technical insights. This setup is common in 12V or 24V systems where you want to safely charge batteries or run low-voltage inverters. You can use series, parallel, or sometimes both. Each way changes how your system works. The PV cables are responsible for connecting the positive and negative terminals of each solar panel, while the branch connectors ensure a secure and. . A 12V parallel solar connection is one of the easiest and most effective ways to create an off-grid setup. ⚡ In a parallel connection, multiple solar panels are connected side by side, with all positive terminals linked together. .
[pdf] Follow a structured process to connect your solar panels to the grid, including preparing the electrical panel, installing a dedicated circuit breaker, wiring the inverter, and setting up a utility disconnect switch. Familiarize yourself with net metering to maximize your energy. . Professional Installation is Critical: Grid-tied solar systems require licensed electricians and multiple permits, with the interconnection process typically taking 2-8 weeks and costing $200-$2,000 in fees alone. It outlines the steps involved in the process, including research, planning, and installation. Grid-connected solar systems allow you to generate. .
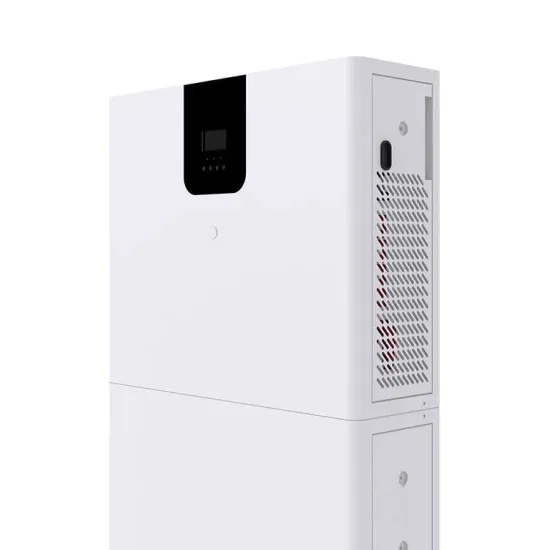
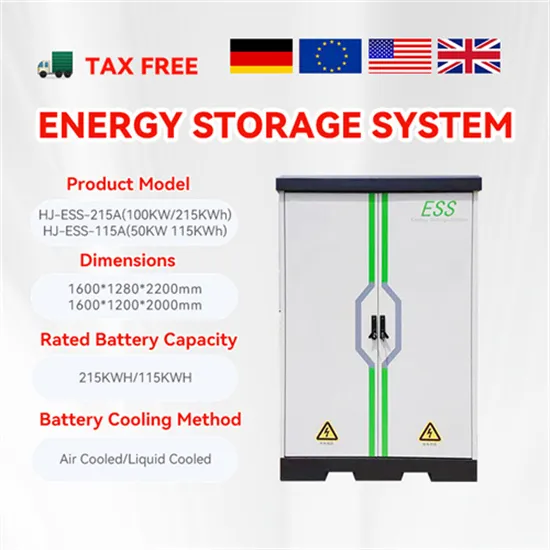
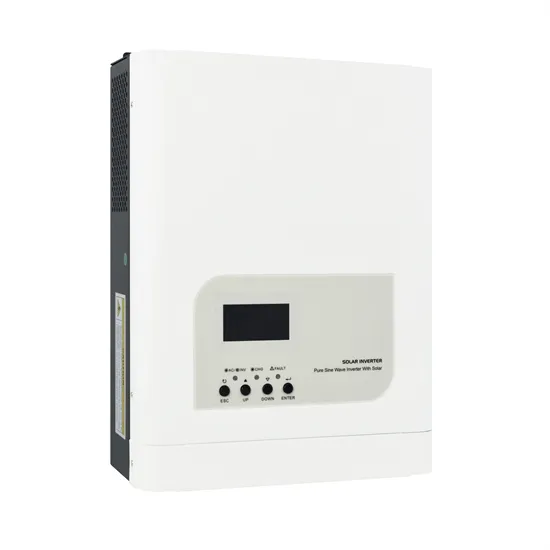
[pdf] This is a detailed walk-through of the planning and installation of our 3kW - 5kWH -120V off-grid solar system that powers a rehabbed shipping container. . Master comms card setup for Solar PV storage containers! Our video guides you through wiring, configuration, and troubleshooting. Ensure seamless data flow between inverters, batteries, and monitoring systems. Please install where children can not touch. Here's a step-by-step guide to help you out: Before you start connecting your solar panels to an inverter, you need to determine your power needs.
[pdf]