A crucial part of this installation process is understanding the wiring diagram for your photovoltaic (PV) solar panels. This diagram outlines the necessary connections between the panels, batteries, and other components to ensure a properly functioning system. A photovoltaic (PV) installation consists of several key components that must be correctly represented. . This article explains these diagrams and how to use them for successful solar operations.
[pdf] There are two main methods of mounting flexible solar panels: peel-and-stick adhesive and screw-in. While screw-in provides more security, it risks damaging the panels if not done correctly. Mounting flexible solar panels involves applying an adhesive to the back of the panel and pressing it onto the desired surface, usually a roof or deck of an RV. . The installation process for these lightweight modules differs significantly from traditional rigid panels, focusing heavily on surface adhesion and maintaining the water integrity of the vehicle's structure. They can be installed on curved surfaces, RVs, boats, and other unique applications.
[pdf] International standard size diagram of photovoltaic bracket safety factor was 2. 98, which met the strength requirements; the hinge joint of 2 rows. . The roof type photovoltaic bracket is usually divided into two kinds of flat roof bracket and inclined roof bracket. I once watched a contractor try to install residential racks using. . Solar mounting systems comprise several components: Mounting Brackets: These secure the solar panels to the mounting structure, ensuring stability. Besides roof structure, other considerations include: The incline necessitates specially enginee ed solar panel roof moun ound, pole) in the panel installation.
[pdf] This guide breaks down the residential solar panel installation process step by step, from planning and permits to mounting panels, connecting inverters, and adding optional solar batteries. This critical phase sets the foundation for your entire solar project and typically takes 30-45 days to complete. Whether you're exploring a DIY project or hiring a professional installer, this article covers the essential. . Are you considering installing solar panels at home to harness renewable energy and save on electricity bills? In this guide, we will take you through a detailed step-by-step process of installing solar panels at home, from planning to powering up your solar system. . The process involves more than just placing panels on a roof; it's a structured sequence of events requiring careful planning and execution. This text explains the complete. .
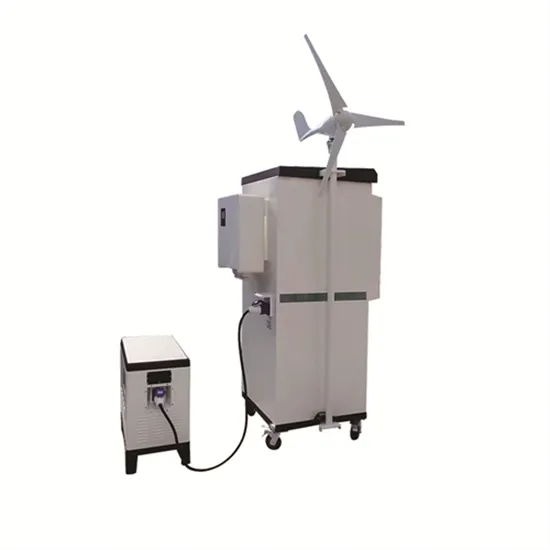
[pdf] Provide an architectural drawing and riser diagram for the homeowner showing the planned location for future photovoltaic and solar hot water system components. . The clawFR 10 Degree flat roof mounting system is comprised of four major components that intuitively assemble into a support structure for photovoltaic (PV) modules. This installation manual explains how to build a PV array using clawFR 10 Degree. EXCEPT FOR DEFLECTORS, ALL RACKING COMPONENTS IN. . This section does not claim modules. Solar panels Batteries Communication diagram Schematic diagram Solar kits Stay informed about. . Embark on your solar journey with our comprehensive guide to solar panel installation diagrams. It is very important to install your solar panel at location that gets the most direct sun exposure.
[pdf]